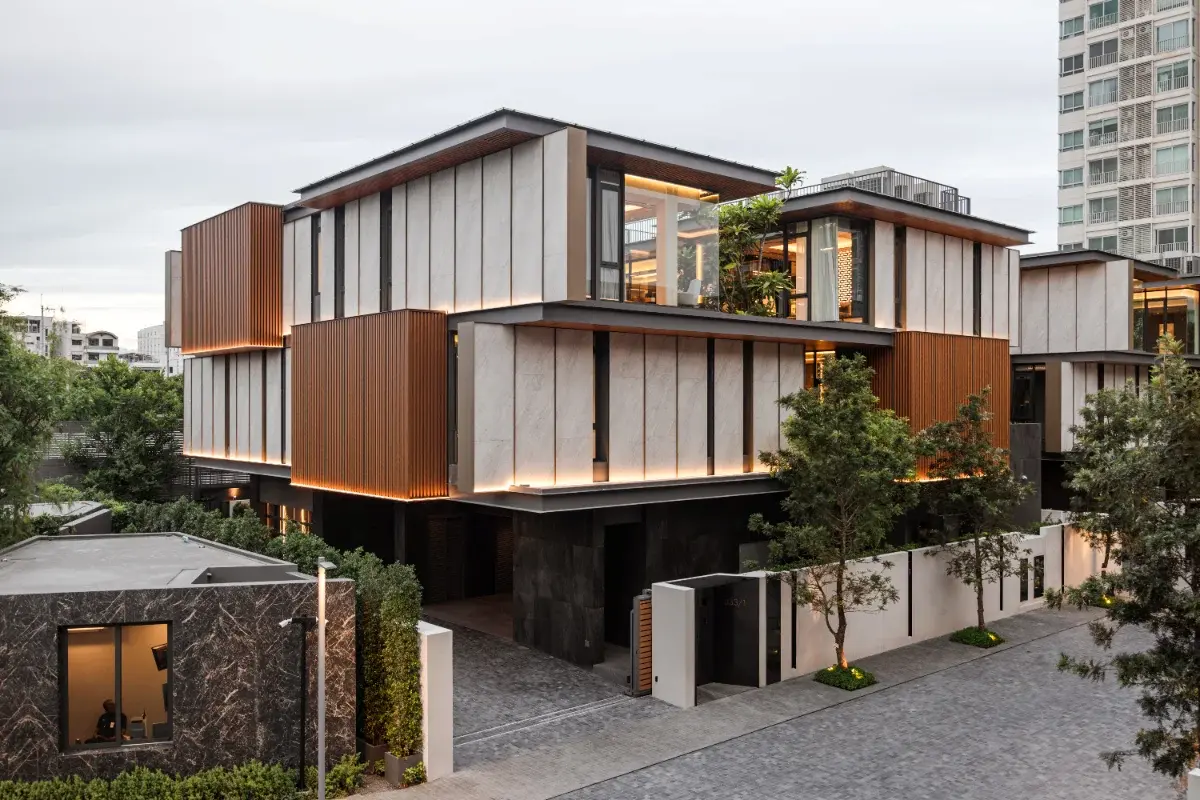
Begin with design intent
Before the camera is placed, identify what the designer solved: a framed view, a transition between materials, a difficult volume or a specific quality of daylight.
The strongest composition makes that decision visible without forcing the viewer to decode it. Plans, elevations, material schedules and a short conversation with the project team can reveal which relationships deserve priority.
Prepare the space before the camera day
Photography should begin only when construction, snagging, cleaning and styling are complete. Small distractions become prominent in a measured architectural frame, and correcting avoidable issues later is less reliable than resolving them on site.
Confirm furniture placement, artwork, florals, table settings, window treatments, practical lighting and access to every priority space. For an operating hotel or restaurant, define guest-free windows and a clear reset plan with the operations team.
- Complete cleaning, snagging and styling before call time
- Check every practical light and replacement lamp
- Remove temporary signage, cables and operational clutter
- Assign one decision-maker for styling approvals on set
Map light, orientation and access
The best time for each room depends on orientation, window size, surrounding buildings and the intended atmosphere. A useful schedule may move between spaces during the day rather than completing one floor in sequence.
Natural light often provides the foundation, but subtle supplemental light can balance contrast and preserve material colour. The aim is not to make every surface equally bright; it is to retain a believable sense of depth while keeping important information visible.
Perspective should feel calm and credible
Correction is essential, but the room should not become clinically flat. A controlled camera height and believable edge relationships preserve both order and presence. The lens and camera position should explain the room without stretching furniture or exaggerating its size.
- Set a clear vertical reference
- Avoid stretching edge furniture
- Use foreground carefully to explain depth
- Capture details that connect to the wide frames
Build a sequence, not a collection of similar wide views
A complete interior story normally moves from an establishing view to key spaces, transitions and details. Each frame should add new information: how rooms connect, how materials change, where daylight enters or how a crafted element is experienced at human scale.
This sequence gives editors, clients and website visitors a clearer reading of the project. It also prevents the final gallery from feeling repetitive even when several rooms share a common visual language.
Plan formats and commercial uses before production
A magazine spread, a portrait social crop and a website banner ask for different negative space. Knowing the outputs in advance makes the same shoot significantly more useful and protects the strongest compositions from unsuitable last-minute crops.
Define where the images will appear, who will use them, the territory and the required duration before the proposal is confirmed. A design studio portfolio, a hotel campaign and a third-party advertising placement may require different files and usage terms.
- Studio and practice portfolio
- Hotel, restaurant or property website
- Editorial, press and award submissions
- Launch campaign, paid media and social formats
- Print collateral and new-business presentations
Select for clarity and consistency
Final selection should balance visual impact with coverage. Establishing images need room to breathe, while supporting frames can clarify circulation, texture, lighting and crafted details.
Consistent perspective, colour and contrast help the set work as one body of work across different pages and formats. The strongest commercial library is edited enough to feel intentional while remaining broad enough for the agreed uses.
Common questions
Frequently asked questions
Should interior photographs use only natural light?
Not always. Natural light establishes atmosphere, while subtle additional lighting can preserve material colour and important shadow detail without making the space feel artificial.
How many final images does an interior project need?
The number depends on the scale and intended uses. A focused set should cover establishing views, key spaces, transitions and material details without repetition.
What information should be shared before an interior shoot?
Share plans, orientation, priority spaces, design details, access restrictions, styling responsibilities and every intended output. This allows the shot list and light schedule to be prepared around the project rather than improvised on site.
Can one interior shoot support both editorial and commercial use?
Yes, when those uses are identified in advance. The production can protect the compositions, resolution, crops and licensing required for portfolio, press, web, print and agreed campaign channels.
Should the architect or designer attend the shoot?
Attendance is helpful when material relationships, styling or project priorities need decisions on site. A confirmed shot list and one authorised decision-maker keep collaboration focused and efficient.